Connecting your CenturyLink modem is a straightforward process that unlocks high-speed internet access. This guide provides a comprehensive, step-by-step approach, ensuring you can get online quickly and efficiently, whether you're a new customer or setting up a replacement device. We cover everything from initial unboxing to troubleshooting common issues.
Getting Started: What You'll Need
Before you begin the physical setup of your CenturyLink modem, it's essential to gather all the necessary components and information. This ensures a smooth and uninterrupted installation process. Having everything at hand will prevent delays and potential frustration. In 2025, the landscape of internet connectivity continues to evolve, with fiber optics becoming more prevalent. However, DSL and other connection types are still widely used, and CenturyLink offers a range of solutions.
Essential Components
When your CenturyLink modem arrives, it should include several key items. Carefully unpack the box and verify that you have the following:
- The CenturyLink Modem/Router: This is the central device that connects to the CenturyLink network and broadcasts your Wi-Fi signal.
- Power Adapter: This is crucial for powering on your modem. Ensure it's the correct adapter supplied with your specific model.
- Ethernet Cable: This cable is used to connect your modem to the wall jack or, in some cases, to a computer for initial setup or wired connections.
- Setup Guide/Quick Start Manual: While this comprehensive guide aims to cover all bases, the manufacturer's documentation can be a valuable quick reference.
Required Information
You'll also need a few pieces of information readily available:
- CenturyLink Account Number: This may be needed for activation or support.
- Installation Date and Time: If you've scheduled a professional installation, note the confirmed appointment details.
- Wi-Fi Network Name (SSID) and Password: You'll create these during the setup process, but it's good to think about what you'd like them to be. For 2025, consider using strong, unique names and passwords to enhance security.
Choosing the Right Location
The placement of your modem significantly impacts your Wi-Fi signal strength and overall internet performance. Consider these factors:
- Central Location: Position the modem in a central area of your home to ensure the Wi-Fi signal reaches all rooms effectively.
- Open Space: Avoid placing the modem in enclosed cabinets, behind large furniture, or near thick walls, as these can obstruct the signal.
- Away from Interference: Keep the modem away from other electronic devices that can cause interference, such as microwaves, cordless phones, and Bluetooth devices.
- Near the Main Connection Point: Ideally, the modem should be close to the primary internet jack (e.g., phone jack for DSL, coaxial outlet for cable) in your home.
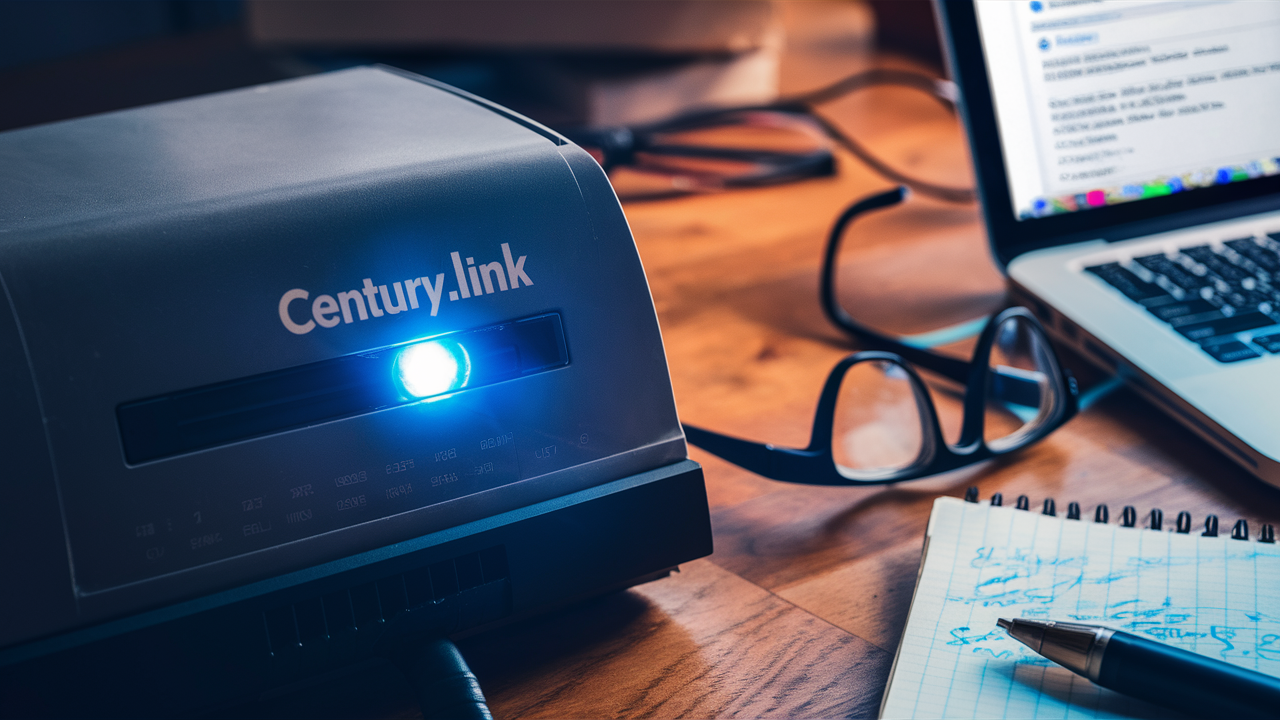
Understanding Your CenturyLink Modem
CenturyLink provides various modem models, and while the core functionality remains the same, there can be slight differences in their appearance and specific ports. Understanding your modem's layout is key to a successful connection.
Common Modem Models
CenturyLink often provides modems like the C2100T, C3000Z, or newer fiber-compatible gateways. While the exact model might vary, the general principles of connection remain consistent. For 2025, CenturyLink is increasingly deploying fiber optic gateways that offer significantly higher speeds and more advanced features compared to traditional DSL modems.
Key Ports and Indicators
Familiarize yourself with the common ports and indicator lights on your modem:
- Power Port: Where the power adapter connects.
- DSL/WAN/Fiber Port: This is where the internet service line connects from your wall jack. For DSL, it's typically an RJ11 phone jack. For fiber, it will be an optical port.
- Ethernet Ports (LAN): These RJ45 ports are used to connect devices directly to the modem via Ethernet cables (e.g., computers, gaming consoles). Most modems have multiple LAN ports.
- USB Port (Optional): Some modems have a USB port that can be used for firmware updates or, in some cases, to connect a printer or external storage.
- Indicator Lights: These lights provide visual feedback on the modem's status. Common lights include:
- Power: Indicates the modem is receiving power.
- DSL/WAN/Internet: Shows the status of the internet connection. A solid light usually means a good connection.
- Wi-Fi: Indicates the Wi-Fi network is active.
- Ethernet Ports: Lights up when a device is connected via Ethernet.
- System/Status: General status indicator.
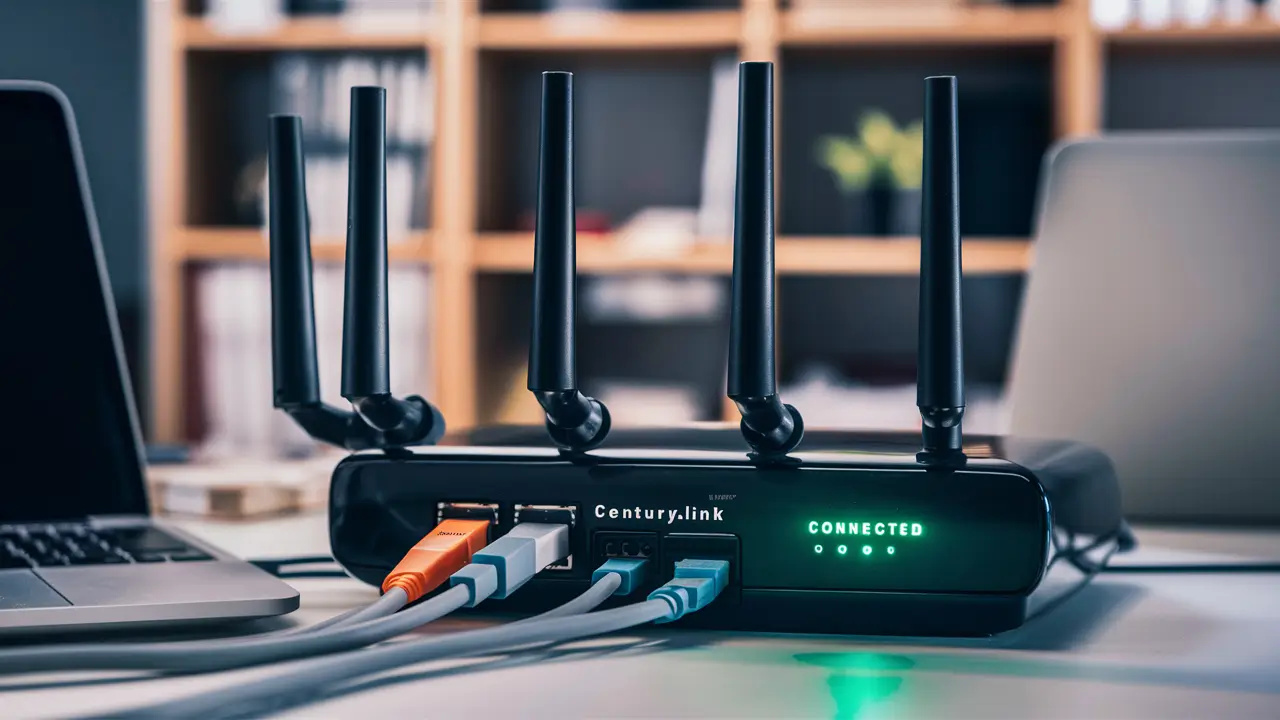
Modem vs. Router vs. Gateway
It's important to understand the terminology. In many cases, CenturyLink provides a gateway, which is a single device that combines the functionality of a modem and a router. A modem's primary job is to translate the signal from your internet service provider (ISP) into a format your network can understand. A router's job is to create a local network and manage the distribution of internet access to multiple devices, often wirelessly via Wi-Fi.
If you have a separate modem and router, the modem connects to the wall, and the router connects to the modem via an Ethernet cable. The router then broadcasts the Wi-Fi signal. For 2025, most new CenturyLink installations will utilize integrated gateways for simplicity and performance.
Step-by-Step Connection Guide
This section will walk you through the physical connection of your CenturyLink modem. Follow these steps carefully to ensure a successful setup.
Step 1: Unpack and Inspect
As mentioned earlier, unpack all components and ensure nothing is damaged. If any items are missing or damaged, contact CenturyLink customer support immediately.
Step 2: Connect the Modem to the Internet Source
This step varies slightly depending on your internet technology (DSL or Fiber).
- For DSL Connections:
- Locate the phone jack (RJ11) in your home that provides the internet service.
- Connect one end of the provided Ethernet cable (or a DSL cable, if supplied) to this phone jack.
- Connect the other end of the cable to the port labeled "DSL," "WAN," or "Internet" on your CenturyLink modem.
- Important Note for DSL: If you are using a single phone line for both internet and voice, you will need a DSL filter. Connect the filter to the phone jack, then plug your modem's DSL cable into the filter. If you have a separate line for internet, no filter is needed. For 2025, it's common to have dedicated lines for internet, especially with higher-speed plans.
- For Fiber Connections:
- Locate the optical network terminal (ONT) or the fiber jack provided by CenturyLink.
- Connect the provided fiber optic cable from the ONT/fiber jack to the port labeled "Fiber," "WAN," or "Internet" on your CenturyLink fiber gateway. Ensure the cable is handled with care, as fiber optic cables are sensitive.
- If your fiber setup involves a separate ONT, you might need to connect your gateway to the ONT using an Ethernet cable.
Step 3: Connect the Power Adapter
Plug the power adapter into the "Power" port on your modem and then plug the other end into a working electrical outlet. Avoid using power strips if possible, as a direct connection ensures consistent power delivery.
Step 4: Power On the Modem
Once connected to power, the modem will begin to boot up. This process can take several minutes. Observe the indicator lights on the front of the modem. They will typically flash and change as the modem powers on, establishes a connection with CenturyLink's network, and prepares to broadcast Wi-Fi. For 2025, the boot-up sequence is generally optimized for speed, but patience is still key.
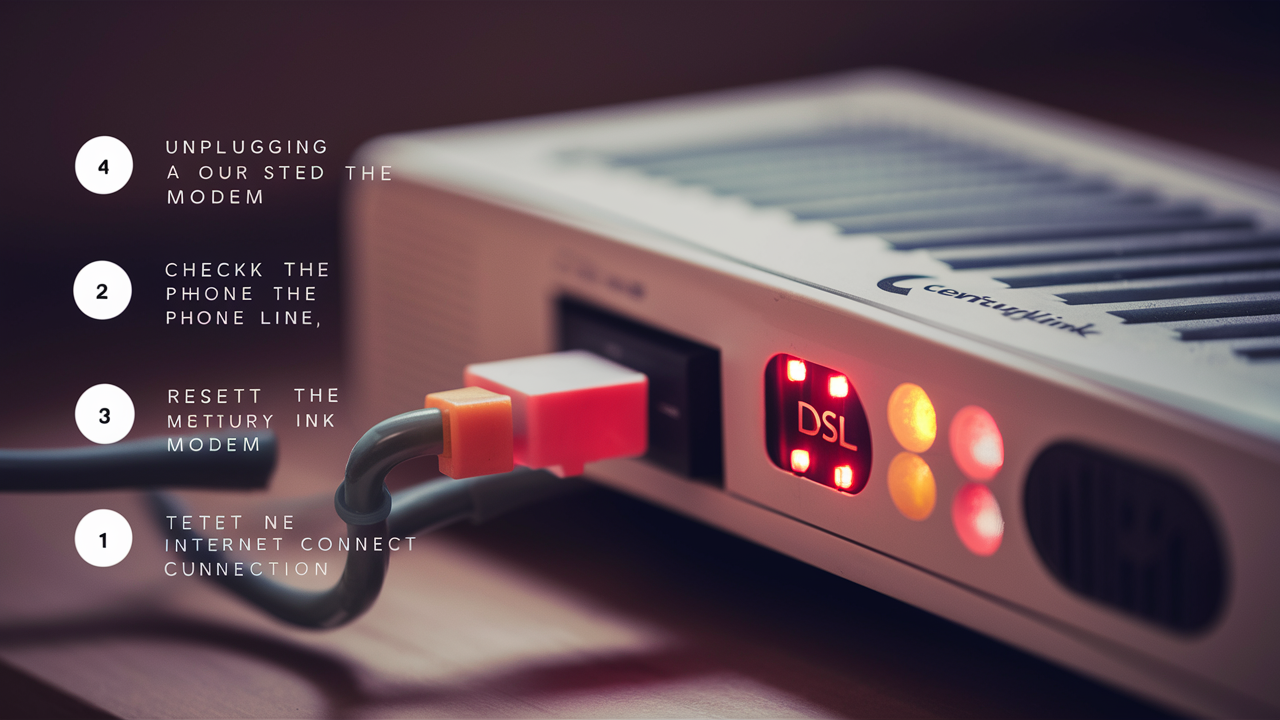
Step 5: Wait for the Internet Light
The most crucial indicator is the "Internet," "WAN," or "Online" light. It needs to become solid to indicate that the modem has successfully connected to CenturyLink's network. This can take anywhere from 2 to 15 minutes, depending on your service type and location.
- DSL: The modem will sync with the DSL line.
- Fiber: The gateway will establish a connection with the network.
If this light does not become solid after a reasonable amount of time, refer to the troubleshooting section.
Step 6: Connect a Device for Configuration (Optional but Recommended)
While many modems can be configured wirelessly, it's often easiest to connect a computer directly to the modem using an Ethernet cable for the initial setup. Plug one end of an Ethernet cable into one of the "LAN" ports on the modem and the other end into the Ethernet port on your computer. This wired connection ensures a stable link during the configuration process.
Setting Up Your Wi-Fi Network
Once your modem is connected and has established an internet connection, the next critical step is to set up your wireless network (Wi-Fi). This allows your devices to connect to the internet wirelessly.
Accessing the Modem's Interface
To configure your Wi-Fi, you need to access the modem's web-based administration interface. The method for doing this is generally consistent across most CenturyLink modems.
- Open a Web Browser: On a computer connected to the modem (preferably via Ethernet cable for initial setup), open a web browser like Chrome, Firefox, Edge, or Safari.
- Enter the Gateway IP Address: In the address bar, type the modem's default IP address and press Enter. Common IP addresses for CenturyLink modems include:
192.168.0.1192.168.1.1
- Log In: You will be prompted to enter a username and password. These are also typically found on a sticker on the modem or in the quick start guide. Common default credentials include:
- Username:
admin - Password:
password,admin, or a unique string printed on the modem.
- Username:
Configuring Your Wi-Fi Settings
Once logged into the modem's interface, navigate to the Wi-Fi or Wireless settings section. Here, you can customize your network.
- Network Name (SSID): This is the name that will appear when you search for Wi-Fi networks on your devices. Choose a unique and recognizable name. Avoid using personal information. For 2025, consider names that hint at your service without revealing too much.
- Security Type: Select WPA2-PSK (AES) or WPA3 if available. WPA3 is the latest and most secure standard, offering enhanced protection against unauthorized access. For 2025, WPA3 is becoming more common and should be prioritized if your devices support it.
- Wi-Fi Password (Pre-Shared Key): This is the password devices will use to connect to your Wi-Fi network. Create a strong, complex password that includes a mix of uppercase and lowercase letters, numbers, and symbols. A strong password is crucial for preventing unauthorized access to your network in 2025.
- Frequency Bands (2.4 GHz and 5 GHz): Most modern modems are dual-band, offering both 2.4 GHz and 5 GHz frequencies.
- 2.4 GHz: Offers a wider range and better penetration through walls but is slower and more prone to interference.
- 5 GHz: Offers faster speeds and less interference but has a shorter range.
Saving and Applying Settings
After making your changes, be sure to click "Save," "Apply," or "Submit" to implement them. The modem may need to restart for the new settings to take effect. Once it restarts, your Wi-Fi network should be visible and ready for devices to connect using the new SSID and password.
Connecting Your Devices
On each of your devices (smartphones, tablets, laptops, smart TVs, etc.), go to the Wi-Fi settings, find your new network name (SSID), and enter the password you created. Your devices should now be connected to the internet.
Troubleshooting Common Connection Issues
Even with a straightforward setup, you might encounter issues. Here are some common problems and their solutions, keeping 2025 connectivity standards in mind.
No Internet Connection / "Internet" Light Off or Blinking
This is the most common issue. It means the modem isn't communicating with CenturyLink's network.
- Check Physical Connections: Ensure all cables (power, DSL/WAN/Fiber) are securely plugged into both the modem and the wall jack/ONT.
- Restart the Modem: Unplug the power adapter from the modem, wait for 30-60 seconds, and then plug it back in. This simple power cycle can resolve many temporary glitches. Allow several minutes for it to re-establish connection.
- Check for Service Outages: Visit the CenturyLink website or contact their customer support to see if there's a known service outage in your area.
- Test the Jack: If you have a DSL connection, try plugging a simple corded phone into the jack (without the modem) to see if you can get a dial tone. If there's no dial tone, the issue might be with your phone line.
- Bypass Splitters/Surge Protectors: For DSL, ensure the modem is connected directly to the wall jack or a DSL filter. Avoid connecting through complex surge protectors or phone line splitters initially, as they can sometimes interfere.
- Fiber ONT Status: If you have fiber, check the indicator lights on your ONT. Consult your ONT's manual or CenturyLink support for what the lights indicate.
Slow Internet Speeds
If you have an internet connection but it's slower than expected, consider these factors:
- Test Speed Directly Connected: Connect a computer directly to the modem via Ethernet cable and run a speed test (e.g., Speedtest.net). This bypasses potential Wi-Fi issues.
- Wi-Fi Interference: Ensure your modem is not near other electronics that can cause interference. Try changing the Wi-Fi channel in your modem's settings.
- Distance from Router: Wi-Fi signal strength decreases with distance. Try moving closer to the modem or consider a Wi-Fi extender or mesh system for larger homes.
- Number of Devices: Too many devices actively using the internet simultaneously can slow down the connection.
- Modem Age/Capability: Older modems might not support the speeds of your current CenturyLink plan. For 2025, if you're on a gigabit fiber plan, ensure your gateway is also gigabit-capable.
- CenturyLink Plan: Verify that your current CenturyLink plan provides the speeds you expect.
Wi-Fi Network Not Visible
If your Wi-Fi network name (SSID) isn't appearing in the list of available networks:
- Check Wi-Fi Light: Ensure the Wi-Fi indicator light on your modem is on.
- Restart Modem: A simple restart can often resolve this.
- Verify Wi-Fi is Enabled: Log into the modem's interface and confirm that the Wi-Fi radio is enabled and broadcasting.
- SSID Broadcast: Ensure that "SSID Broadcast" or "Enable SSID" is checked in your Wi-Fi settings.
Unable to Access Modem Interface
If you can't reach the modem's IP address:
- Check IP Address: Double-check that you are using the correct IP address for your modem.
- Wired Connection: Ensure your computer is properly connected to the modem via Ethernet cable.
- IP Address Conflict: Sometimes, other devices on your network might have a conflicting IP address. Try restarting your computer and modem.
- Factory Reset: As a last resort, you can perform a factory reset on the modem. This will revert all settings to their defaults, including your Wi-Fi name and password. There is usually a small reset button on the back or bottom of the modem that you need to press and hold with a paperclip for about 10-15 seconds. You will need to reconfigure your Wi-Fi settings afterward.
Advanced Settings and Customization
For users who want more control over their network, CenturyLink modems offer various advanced settings. These can enhance security, improve performance, and allow for specific configurations.
Changing the Default Administrator Password
This is a critical security step. The default password for accessing your modem's interface is often known or easily guessable. For 2025, this is non-negotiable for network security.
- Log in to your modem's interface (e.g.,
192.168.0.1). - Navigate to the "Administration," "System," or "Security" section.
- Find the option to change the administrator password.
- Enter the current password, then your new, strong password, and confirm it.
- Save the changes.
Port Forwarding
Port forwarding allows you to direct incoming internet traffic to a specific device on your local network. This is often necessary for online gaming, hosting servers, or accessing devices remotely.
- Log in to your modem's interface.
- Find the "Port Forwarding" or "NAT" (Network Address Translation) section.
- You will typically need to specify:
- The external (public) port number or range.
- The internal (private) port number or range.
- The IP address of the device on your network that should receive the traffic.
- The protocol (TCP, UDP, or both).
- Save the configuration.
Note: For 2025, many applications and services are moving towards more secure and dynamic connection methods, but port forwarding remains relevant for specific use cases.
DMZ (Demilitarized Zone)
The DMZ feature exposes a specific device on your network directly to the internet, bypassing most firewall protections. This is generally not recommended for security reasons unless absolutely necessary for a specific application that cannot be configured with port forwarding.
- Log in to your modem's interface.
- Find the "DMZ" section.
- Enter the IP address of the device you wish to place in the DMZ.
- Enable the DMZ.
Caution: Use DMZ with extreme care, as it significantly increases the security risk for the designated device.
Quality of Service (QoS)
QoS settings allow you to prioritize certain types of network traffic or specific devices. For example, you can prioritize video streaming or online gaming traffic to ensure a smoother experience, especially when your network is busy.
- Log in to your modem's interface.
- Locate the "QoS" or "Traffic Management" section.
- You can typically set rules based on device, application, or port to give them higher bandwidth priority.
For 2025, with the rise of high-definition streaming and real-time communication, QoS can be a valuable tool for maintaining optimal performance.
Firewall Settings
Your modem's firewall provides a basic level of protection against unauthorized access from the internet. You can usually adjust the firewall's security level or enable/disable specific security features.
- Log in to your modem's interface.
- Find the "Firewall" or "Security" section.
- Review the available settings. For most users, the default settings are sufficient.
Optimizing Your CenturyLink Internet Connection
Beyond the initial setup and basic troubleshooting, several steps can help you get the most out of your CenturyLink internet service in 2025 and beyond.
Keep Firmware Updated
CenturyLink regularly releases firmware updates for their modems. These updates can improve performance, patch security vulnerabilities, and introduce new features. Many modems update automatically, but you can often check for updates manually through the modem's interface. For 2025, staying current with firmware is crucial for security and performance.
Secure Your Wi-Fi Network
We've touched on this, but it bears repeating. A strong, unique Wi-Fi password (WPA2/WPA3) is your first line of defense. Regularly changing your password adds another layer of security.
Consider a Wi-Fi Extender or Mesh System
For larger homes or areas with weak Wi-Fi signals, a single modem's Wi-Fi might not be sufficient. A Wi-Fi extender or a mesh Wi-Fi system can significantly improve coverage and eliminate dead zones. Mesh systems, in particular, offer a more seamless experience with a single network name throughout your home.
Comparison of Wi-Fi Solutions:
| Feature | Wi-Fi Extender | Mesh Wi-Fi System | Modem's Built-in Wi-Fi |
|---|---|---|---|
| Coverage Area | Extends existing signal | Creates a new, robust network | Primary coverage, can be limited |
| Ease of Setup | Generally easy | Moderately easy, can be complex | Initial setup required |
| Performance | Can halve speed; potential for lag | High performance, seamless roaming | Varies by model and distance |
| Cost | Lower | Higher | Included with service |
| Best For | Small dead zones | Large homes, consistent coverage | Standard-sized homes, basic needs |
Use Wired Connections When Possible
For devices that require the highest speeds and lowest latency (e.g., gaming consoles, desktop computers for large file transfers, streaming devices), a wired Ethernet connection is almost always superior to Wi-Fi. If your modem is located centrally, consider running Ethernet cables to these devices.
Optimize Device Settings
Ensure your devices are also optimized. For example, on smartphones and laptops, you can often choose whether to connect to the 2.4 GHz or 5 GHz band. Connecting to the 5 GHz band when close to the modem can yield faster speeds.
Monitor Network Usage
Be aware of what devices are consuming the most bandwidth. Heavy downloads, large file uploads, and multiple high-definition video streams can impact overall network performance. For 2025, understanding your household's digital footprint is key to managing internet quality.
Consider a Dedicated Router
While CenturyLink gateways are generally capable, some users opt for a third-party router to gain more advanced features, better Wi-Fi performance, or more robust security options. If you choose this route, you'll typically put the CenturyLink gateway into "bridge mode" so it acts only as a modem, and your new router handles all routing and Wi-Fi functions.
Regularly Reboot Your Modem
Just like restarting a computer, regularly rebooting your modem (e.g., once a week) can help clear temporary memory issues and ensure optimal performance. This is a simple, effective maintenance task for 2025.
Connecting your CenturyLink modem is a fundamental step to enjoying reliable internet service. By following this comprehensive guide, you can ensure a smooth setup, secure your network, and troubleshoot any issues that may arise. Whether you're using DSL or the latest fiber technology, understanding your equipment and its settings is key. For 2025, with increasing reliance on digital connectivity for work, education, and entertainment, a well-configured and optimized internet connection is more important than ever. If you encounter persistent problems, don't hesitate to contact CenturyLink support for personalized assistance.