Struggling to secure your home network with CenturyLink? This guide provides a comprehensive, step-by-step walkthrough on how to change your CenturyLink WiFi password, ensuring your internet connection remains private and protected. We'll cover common router models and troubleshooting tips for a seamless experience.
Understanding Your CenturyLink Router
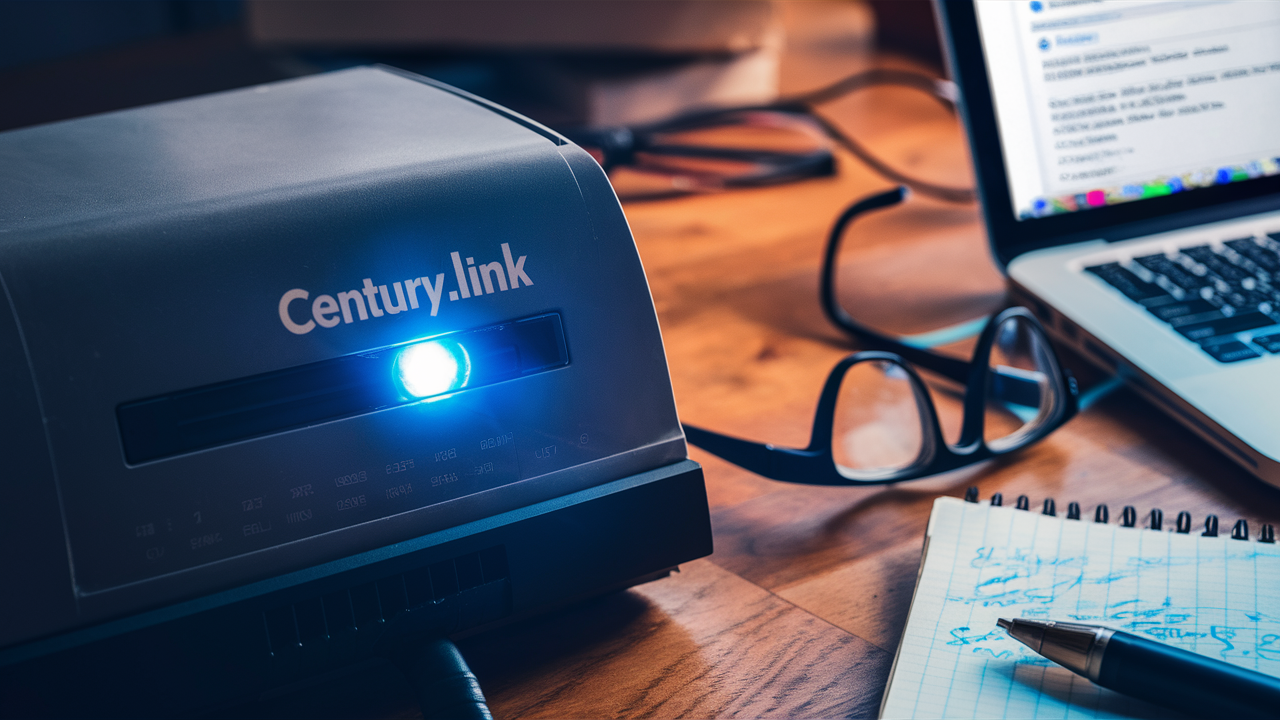
CenturyLink, now Lumen Technologies, provides internet services through various modem/router combinations. The specific model you have will dictate the exact steps for changing your WiFi password. Most CenturyLink customers use either a modem/router combo device or a separate modem and router. It's crucial to identify your device to follow the correct instructions. You can usually find the model number on a sticker on the bottom or back of your router. Common CenturyLink models include the C2100T, C3000Z, C1100Z, and Q1000Z. Knowing your model is the first step in successfully navigating its administrative interface.
In 2025, the importance of a strong, unique WiFi password cannot be overstated. With the proliferation of smart home devices and the increasing reliance on stable internet for work and entertainment, securing your network is paramount. A weak password can lead to unauthorized access, slower speeds, and potential security breaches. This guide aims to demystify the process of changing your CenturyLink WiFi password, empowering you to take control of your home network security.
The average internet speed in the US for 2025 is projected to exceed 150 Mbps for broadband connections, highlighting the need for robust security to protect this valuable resource. Without proper security, your high-speed connection could be exploited by others. Understanding your router's capabilities and how to manage its settings is key to maintaining a secure and efficient home network.
Accessing Your Router's Settings
To change your WiFi password, you need to access your router's administrative interface. This is typically done through a web browser. Here’s how:
- Connect to Your Network: Ensure your computer or device is connected to your CenturyLink WiFi network, either wirelessly or via an Ethernet cable.
-
Find Your Router's IP Address: The most common default IP address for CenturyLink routers is 192.168.0.1 or 192.168.1.1. If these don't work, you can find your router's IP address by checking your device's network settings.
- On Windows: Open Command Prompt, type
ipconfig, and look for the "Default Gateway" address. - On macOS: Go to System Preferences > Network > Advanced > TCP/IP. Your router's IP will be listed as "Router."
- On Mobile Devices: Check your WiFi settings for the connected network; the router's IP is usually listed as the "Gateway" or "Router" address.
- On Windows: Open Command Prompt, type
- Open a Web Browser: Launch any web browser (Chrome, Firefox, Safari, Edge, etc.).
- Enter the IP Address: Type the router's IP address into the browser's address bar and press Enter.
-
Log In: You will be prompted for a username and password. The default credentials for CenturyLink routers are often:
- Username:
admin - Password:
password,admin, or a unique password printed on the router's sticker.
- Username:
It's essential to remember your router's login credentials. If you've never logged in before, the sticker on the router is your best bet. For security reasons, it's highly recommended to change these default login credentials after you've successfully accessed the router.
Changing Your WiFi Password on Common CenturyLink Routers
Once you've successfully logged into your router's administrative interface, you'll need to navigate to the wireless settings to change your WiFi password. The exact location and naming of these settings can vary slightly between models.
CenturyLink C2100T or C3000Z
These models are quite common and share a similar interface.
- Log in: Access the router's IP address (usually 192.168.0.1) and log in with your administrator credentials.
- Navigate to Wireless Settings: Look for a menu option like "Wireless," "WiFi," or "WLAN."
- Find Security Settings: Within the wireless settings, locate the "Security" or "Security Options" tab.
-
Change the Password: You will see fields for "SSID" (your network name) and "Password" or "Pre-Shared Key" (PSK).
- SSID: You can change your network name if you wish, but it's not necessary for changing the password.
- Password/PSK: Enter your new, strong WiFi password in this field.
- Security Type: Ensure the security type is set to WPA2-PSK (AES) or WPA3 if available, as these are the most secure options. Avoid WEP or WPA.
- Save Changes: Click "Apply," "Save," or "Submit" to save your new password.
- Reconnect Devices: All your connected devices will be disconnected and will need to reconnect using the new WiFi password.
The C2100T and C3000Z often have a clear, user-friendly interface, making this process relatively straightforward. Remember to choose a password that is at least 12 characters long, a mix of uppercase and lowercase letters, numbers, and symbols.
CenturyLink C1100Z
The C1100Z model also offers a straightforward way to change your WiFi password.
- Log in: Access the router's IP address (usually 192.168.0.1) and log in.
- Navigate to Advanced Setup: Look for a menu item labeled "Advanced Setup" or "Advanced Settings."
- Select Wireless: Under Advanced Setup, find and click on "Wireless."
- Configure Wireless Security: You should see an option like "Wireless Security" or "Security."
- Enter New Password: Locate the field for "WPA/WAPI passphrase," "Pre-Shared Key," or "Password." Enter your new, strong password here.
- Security Mode: Ensure the security mode is set to WPA2-PSK (AES).
- Apply Settings: Click "Apply" or "Save" to implement the changes.
- Reconnect: You will need to re-enter the new password on all your WiFi-enabled devices.
The C1100Z interface might look slightly different, but the core navigation to wireless security settings remains consistent. Prioritizing WPA2 security is crucial for protecting your network.
CenturyLink Q1000Z
The Q1000Z is another popular CenturyLink modem/router.
- Log in: Access the router's IP address (usually 192.168.0.1) and log in.
- Navigate to Wireless Settings: Find the "Wireless" or "Wi-Fi" section in the main menu.
- Select Wireless Security: Within the Wireless section, look for "Wireless Security" or "Security Settings."
- Change Password: You'll find a field for the "Passphrase" or "Password." Enter your new password here.
- Encryption Type: Confirm that the encryption type is set to WPA2-PSK (AES).
- Save: Click "Apply" or "Save" to confirm the changes.
- Re-establish Connection: All devices will need to be reconnected with the new password.
The Q1000Z interface is generally intuitive, making the process of updating your WiFi password a quick task. Always opt for the strongest available security protocol.
Other CenturyLink Models
While specific menu names might differ, the general process for most CenturyLink routers remains similar:
- Log into the router's web interface using its IP address.
- Navigate to the "Wireless," "WiFi," or "WLAN" settings.
- Find the "Security" or "Wireless Security" section.
- Enter your new password in the designated field (often labeled "Passphrase," "Pre-Shared Key," or "Password").
- Ensure the security protocol is set to WPA2-PSK (AES) or WPA3.
- Save your changes.
If you are unsure about your router model or its interface, consult your router's manual or the CenturyLink support website. Many manufacturers provide downloadable PDF guides for their devices. For example, finding a guide for "CenturyLink [Your Model Number] manual" can be very helpful.
A quick way to check your current router model is to look for a sticker on the device itself. This sticker usually contains the model number, MAC address, and sometimes even the default login credentials.
Troubleshooting Common Issues
Changing your WiFi password should be a straightforward process, but sometimes issues can arise. Here are some common problems and their solutions:
| Issue | Possible Cause | Solution |
|---|---|---|
| Cannot access router interface (192.168.0.1 or 192.168.1.1) | Incorrect IP address, device not connected to the network, router is off. | Verify IP address, ensure device is connected to CenturyLink WiFi, check router power. Try a different browser. |
| Incorrect username or password for router login | Forgotten credentials, default credentials not working. | Check router sticker for defaults. If changed and forgotten, perform a factory reset (see below). |
| New password not working for WiFi connection | Password not saved correctly, incorrect password entered on device, router not rebooted. | Re-enter the new password carefully on devices. Save changes again on the router and reboot it. |
| Lost internet connection after changing password | Router configuration error, modem not syncing. | Reboot the router and modem. Double-check all settings. If issues persist, contact CenturyLink support. |
| Cannot find wireless security settings | Interface variation, wrong section. | Look for "Advanced Settings" or similar. Consult your router's manual or online guides for your specific model. |
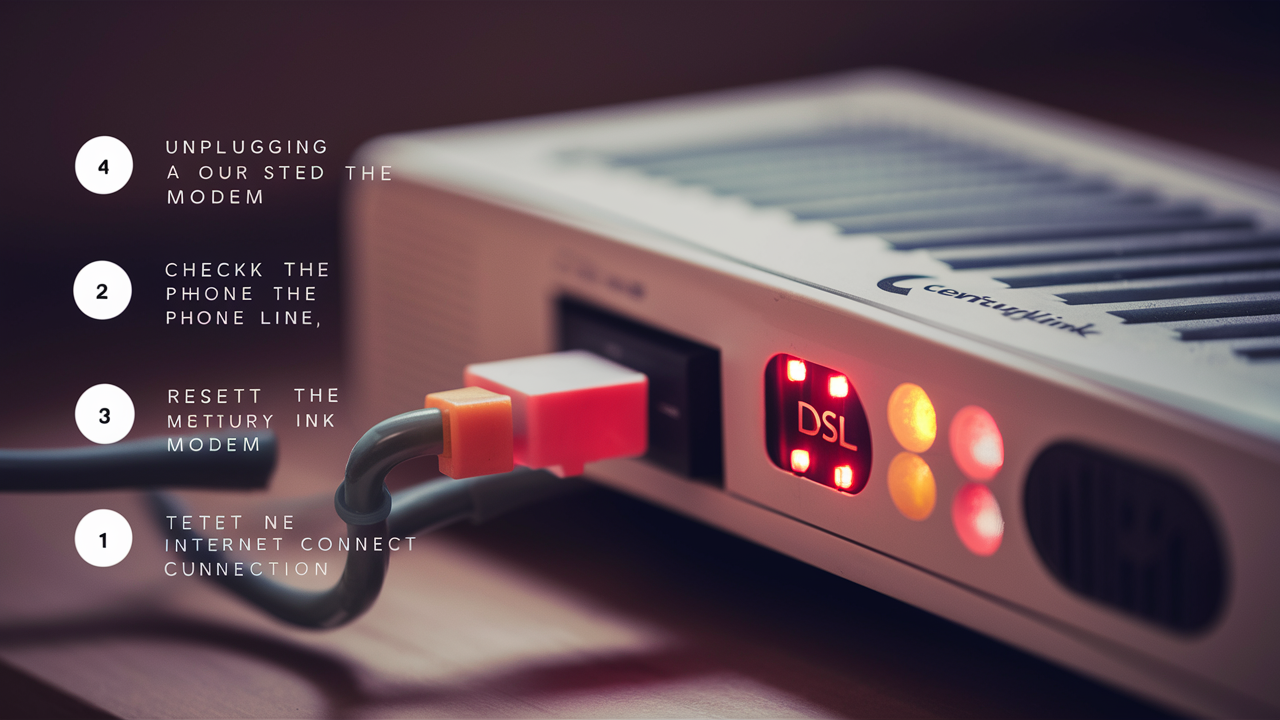
Performing a Factory Reset
A factory reset will restore your router to its original default settings, including the default WiFi name (SSID) and password. This is a last resort if you've forgotten your administrator login or if other troubleshooting steps fail.
- Locate the Reset Button: Find the small, recessed reset button on the back or bottom of your router. You might need a paperclip or a pin to press it.
- Power On the Router: Ensure the router is powered on.
- Press and Hold: Press and hold the reset button for about 10-15 seconds. The lights on the router should flicker or change, indicating the reset process has begun.
- Release the Button: Release the button and allow the router to reboot. This may take a few minutes.
- Access Settings: Once the router has fully rebooted, you can access its settings using the default IP address and the default username/password found on the router's sticker. You will then need to reconfigure your WiFi network and set a new password.
Important Note: A factory reset will erase all custom settings, including any port forwarding rules, static IP addresses, or parental controls you may have configured. You will need to set these up again after the reset.
Best Practices for WiFi Security
Changing your WiFi password is a crucial step, but robust network security involves more. Here are essential best practices for 2025:
- Use a Strong, Unique Password: As mentioned, aim for at least 12 characters, combining uppercase and lowercase letters, numbers, and symbols. Avoid easily guessable information like names, birthdays, or common words. Consider using a password manager to generate and store complex passwords.
- Change Default Router Login Credentials: The default username and password for accessing your router's settings are often publicly known. Change these immediately after setting up your router or after a factory reset.
- Enable WPA2 or WPA3 Encryption: Always use WPA2-PSK (AES) or, if your devices support it, WPA3. These are the most secure encryption protocols available for home networks. Avoid WEP and WPA, as they are outdated and easily compromised.
- Update Router Firmware Regularly: Router manufacturers release firmware updates to patch security vulnerabilities and improve performance. Check your router's admin interface periodically for available updates or enable automatic updates if the option exists. In 2025, keeping firmware updated is critical, as new threats emerge constantly.
- Change Your SSID (Network Name): While not a primary security measure, changing your SSID from the default can make your network slightly less of a target for automated scans looking for specific router models. Avoid using personal information in your SSID.
- Disable WPS (Wi-Fi Protected Setup): While convenient, WPS has known vulnerabilities that can be exploited to gain unauthorized access to your network. It's generally recommended to disable WPS if you don't actively use it.
- Consider a Guest Network: If your router supports it, set up a separate guest network for visitors. This allows them to access the internet without giving them access to your main network and devices.
- Secure Smart Home Devices: Ensure all your smart home devices (smart TVs, speakers, cameras, etc.) have strong, unique passwords and are running the latest firmware. These devices can be entry points for attackers if not secured.
- Regularly Review Connected Devices: Periodically log into your router's interface to check the list of connected devices. If you see any unfamiliar devices, investigate immediately and consider changing your password.
The landscape of cyber threats is constantly evolving. Staying informed about security best practices is an ongoing process. For instance, the number of IoT devices is projected to reach over 50 billion by 2025, each representing a potential vulnerability if not properly secured.
Conclusion
Securing your home network by changing your CenturyLink WiFi password is an essential task for protecting your personal information and ensuring a stable, private internet experience. We've walked through the process of accessing your router's settings, changing your password on common CenturyLink models like the C2100T, C3000Z, C1100Z, and Q1000Z, and provided solutions for common troubleshooting scenarios, including factory resets.
Remember, a strong, unique password, combined with other security best practices like enabling WPA2/WPA3 encryption, changing default router credentials, and keeping firmware updated, forms a robust defense against unauthorized access. In today's interconnected world of 2025, where smart devices are ubiquitous and online threats are ever-present, proactive network security is not just recommended—it's imperative. By following these steps, you can confidently manage your CenturyLink WiFi password and maintain a secure digital environment for your home.