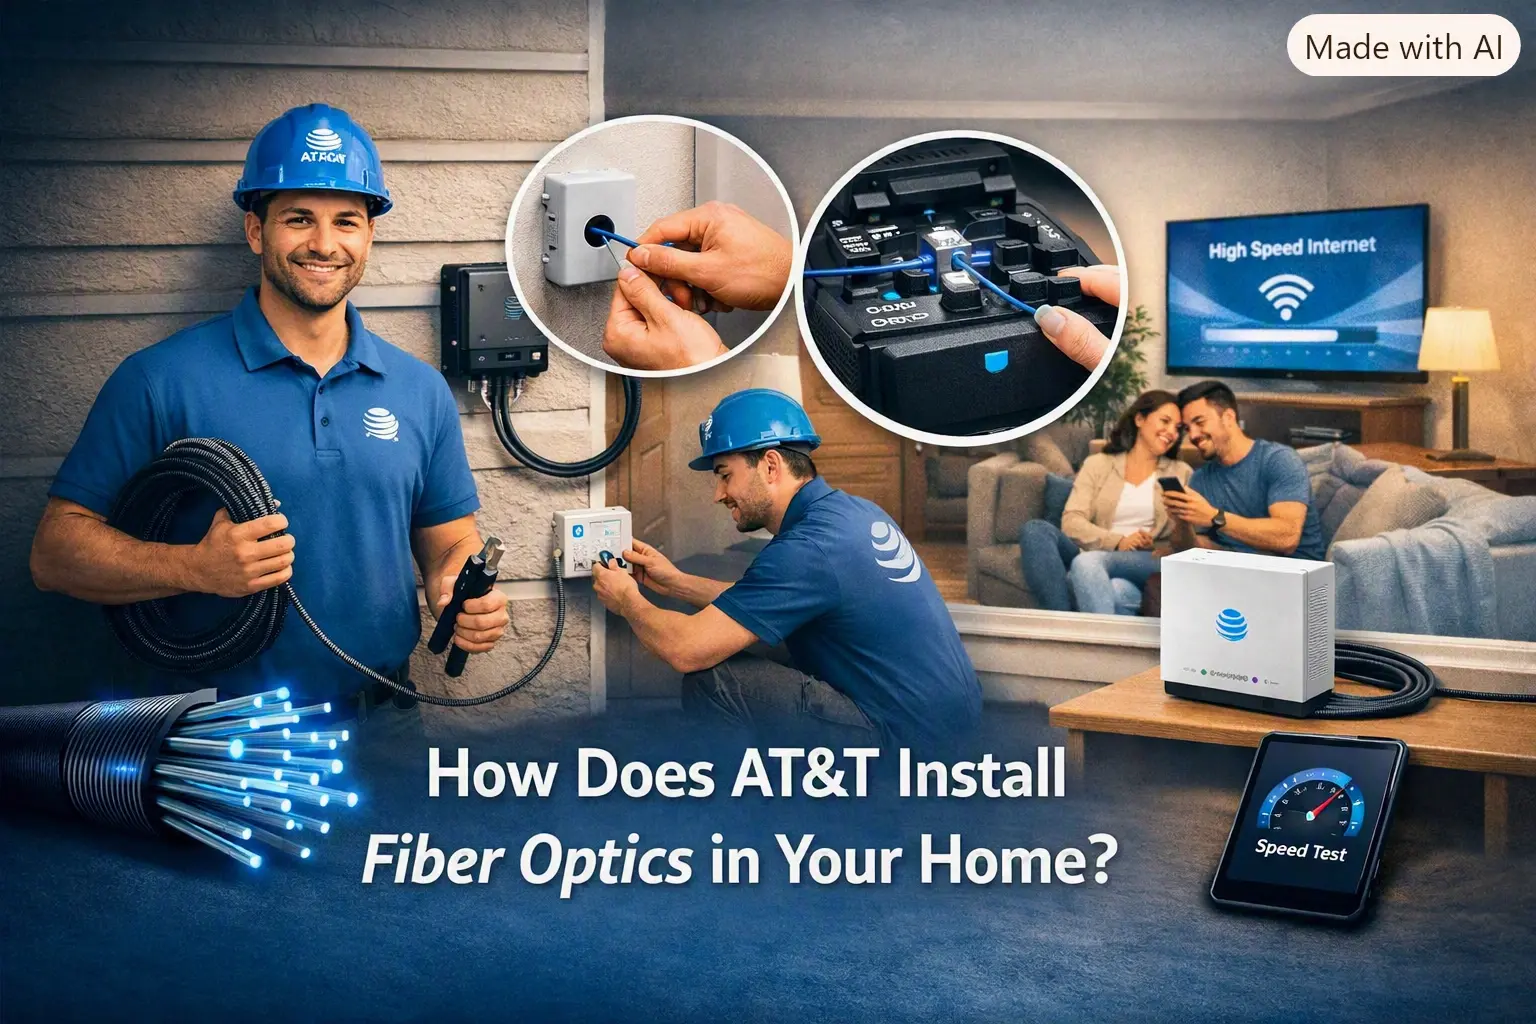
AT&T installs fiber optics in a home through a multi-stage process: a technician runs a fiber-optic line from the nearest distribution point to the property, mounts an Optical Network Terminal (ONT) — the device that converts light signals into usable electrical/data signals — connects a Wi-Fi gateway to the ONT, and activates and tests the service. For a brand-new fiber connection, this typically takes four to six hours; for a home with existing fiber infrastructure, it can take under an hour.
Key Findings
Installation length varies significantly based on whether fiber infrastructure already exists at the address: new installs average 4–6 hours, while upgrades to an already-fibered home can take under an hour.
The Optical Network Terminal (ONT) is the critical hardware boundary — it's where AT&T's outside fiber network ends and the customer's in-home equipment begins.
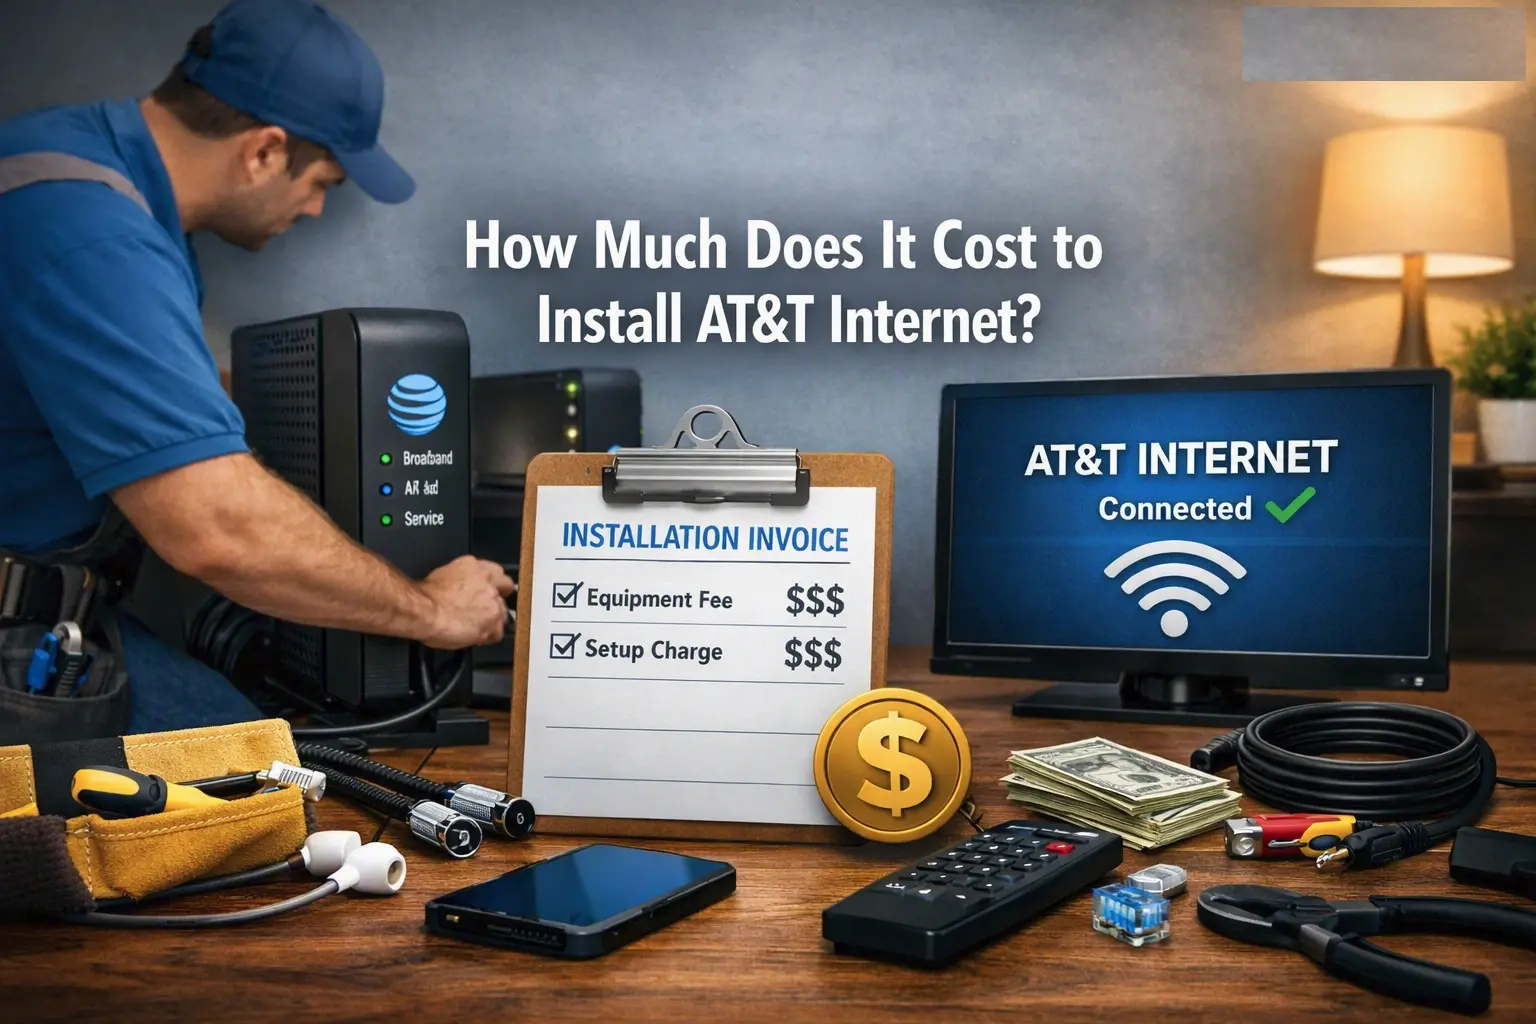
A standard installation fee of $99 is common, though AT&T frequently waives it during promotional periods.
Someone 18 or older must be present for the full appointment, since technicians typically need access to both the exterior and interior of the home.
If a new fiber line needs to be run from the street, AT&T often completes an initial temporary connection and returns later to bury the permanent line.
Step 1: Pre-Installation Survey and Scheduling
Before the technician visits, AT&T confirms service availability at the address and, in many cases, conducts a brief technical review of the property — checking for existing fiber infrastructure, identifying the best cable path, and noting any complications like long driveways, landscaping, or unusual building materials. This is also when any required permitting for aerial line work (running fiber from utility poles) gets initiated, which can add several business days to the overall timeline in areas without existing underground conduit.
Step 2: Running the Fiber Line to the Home
On installation day, the technician runs a fiber-optic cable from the nearest distribution point — a pole, underground conduit, or existing junction — to the home. If a new line is required, this may involve drilling a small entry point through an exterior wall. Permanent burial of new fiber line sometimes happens on a separate follow-up visit rather than the same day, particularly if trenching is required.
Step 3: Installing the Optical Network Terminal (ONT)
The ONT is mounted either outside the home (often in a weatherproof enclosure) or inside, commonly in a garage, basement, or utility closet, depending on the property's setup. This device is the demarcation point between AT&T's outside network and the customer's internal wiring — it converts the optical light signal carried over fiber into the electrical/Ethernet signal that routers and gateways use. The technician tests signal strength at the ONT before proceeding, since a weak or improperly terminated fiber connection at this stage will cause problems downstream regardless of what equipment is connected afterward.
Step 4: Connecting and Configuring the Wi-Fi Gateway
Once the ONT is confirmed active, the technician connects it to an AT&T Wi-Fi gateway using an Ethernet cable, powers on the gateway, and configures it to the customer's account. If the home previously had AT&T DSL or U-verse service, the technician typically replaces the old copper wiring with fiber-compatible connections at this stage to ensure the full connection delivers true fiber performance rather than being bottlenecked by legacy wiring.
Step 5: Activation, Speed Testing, and Wi-Fi Setup
With hardware in place, the technician activates service by connecting to AT&T's network, then runs a speed test to confirm the connection matches the purchased plan tier. From there, the technician typically helps set up the Wi-Fi network name and password — often through the AT&T Smart Home Manager app — and connects a few devices to verify everything functions correctly.
Step 6: Final Walkthrough
Before leaving, the technician generally walks the customer through gateway placement, explains what the indicator lights mean, and provides basic troubleshooting guidance. Many technicians also perform an informal in-home Wi-Fi assessment at this point, identifying dead zones and recommending gateway placement or extenders if coverage is uneven across the home.
Research Insights
The installation process reflects a structural difference between fiber and legacy copper or cable service: fiber requires a physical hardware boundary (the ONT) that has no equivalent in a coax or DSL setup, and that boundary has to be professionally terminated and tested because fiber-optic connections are far less tolerant of imperfect splices than copper. This is the core reason self-installation isn't offered for new fiber connections — even a well-intentioned DIY attempt at connecting or terminating fiber optic cable risks a faulty connection that would be difficult for an average homeowner to diagnose.
It's also worth noting that installation time is less about the technology itself and more about the physical condition of the property. Homes with existing fiber infrastructure, underground conduit already in place, or previous AT&T fiber service nearby tend to see dramatically shorter appointments than homes requiring new aerial or underground line runs and permitting.
Consumer Impact
Because installation timelines can range from under an hour to several hours — and occasionally require a follow-up visit for line burial — customers should plan for a flexible appointment window rather than assuming a fixed duration. Clearing access to likely ONT and gateway locations (garage, utility closet, basement) ahead of time, and having someone 18+ available for the full window, helps avoid rescheduling. Readers comparing fiber installation experiences across providers, or checking what to expect before scheduling, can find additional research and installation guides at CablePapa.com.
Future Outlook
As AT&T continues expanding fiber coverage into new markets, more households are gaining access to areas with pre-existing conduit or fiber already run to the curb, which should gradually shorten average installation times for new customers. Self-install options remain limited industry-wide for new fiber connections due to the technical sensitivity of fiber termination, though upgrade-only installations (where fiber infrastructure already reaches the home) are increasingly fast, sometimes completed in under an hour.
FAQ
Do I need to be home for the entire AT&T Fiber installation?
Yes. AT&T requires someone 18 or older to be present for the full appointment, since the technician typically needs access to both the exterior and interior of the home to run cable and install equipment.
How long does AT&T Fiber installation take?
New installations typically take four to six hours. If your home already has fiber infrastructure from a previous connection, installation can take under an hour, since the technician primarily needs to connect the ONT and configure the gateway.
Can I install AT&T Fiber myself?
No. New AT&T Fiber connections always require a professional technician visit because of the specialized equipment and precise fiber termination involved. Self-installation isn't offered for new fiber service, though minor gateway swaps for existing service may sometimes be self-managed.
What is an ONT and why is it needed?
An Optical Network Terminal (ONT) converts the light signal carried over fiber-optic cable into the electrical/Ethernet signal used by routers and connected devices. It marks the boundary between AT&T's outside network and the customer's home wiring.
Is there a fee for AT&T Fiber installation?
A standard installation fee, commonly around $99, applies in many cases, though AT&T frequently waives this fee during promotional sign-up periods. It's worth confirming current pricing when scheduling.
Will AT&T need to bury a new fiber line at my house?
If a new fiber line is required to reach your home, AT&T may complete an initial connection on install day and return separately to bury the permanent line, particularly when trenching is needed.
Conclusion
AT&T's fiber installation process runs from a pre-visit technical survey through running the physical line, mounting and testing the ONT, connecting the gateway, and finally activating and speed-testing the service. Because fiber requires precise physical termination that isn't practical to DIY, a professional technician visit remains mandatory for new installations — typically four to six hours, though existing-infrastructure upgrades are often much faster. For more installation guides and provider comparisons, visit CablePapa.com or call (844) 905-5001 to check fiber availability and scheduling in your area.
Resources:
How long does it take for ATT to install fiber optic?